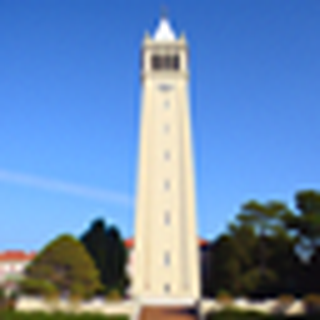
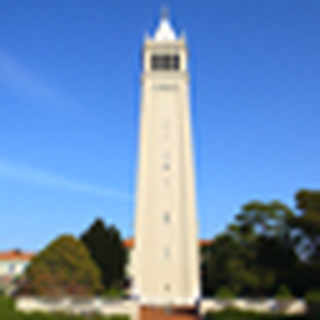
Using Hugging Face we gain access to the DeepFloyd/IF-I-XL-v1.0 model for our difusion model.
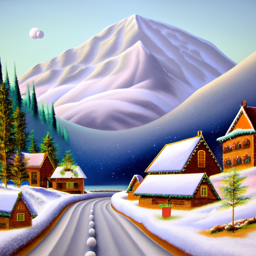
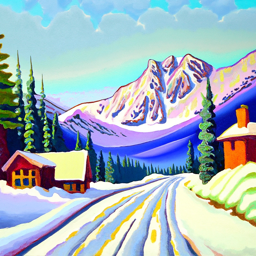
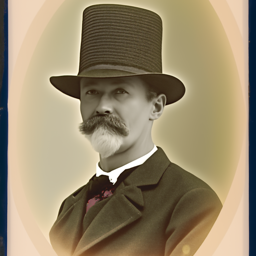
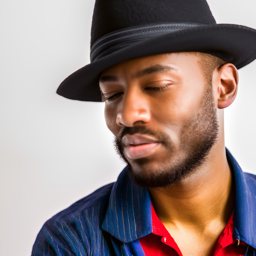
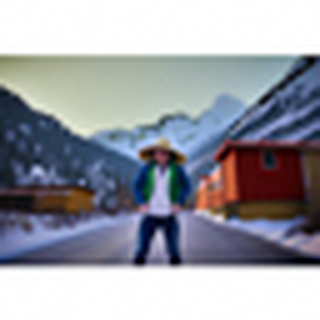
The random seed used throughout the project is 92. As you can see, as the step size increase, we
can see that the result generated seems to be sharper (more obvious for man wearing hat) and closer
to the prompt (for oil painting of snowy village).
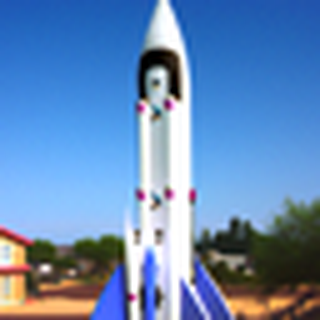
an oil painting of a snowy mountain village; steps = 20an oil painting of a snowy mountain village; steps = 50a man wearing a hat; steps = 20a man wearing a hat; steps = 50a rocket ship; steps = 20a rocket ship; steps = 50
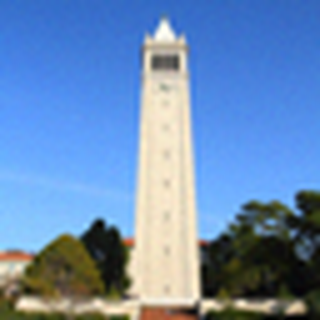
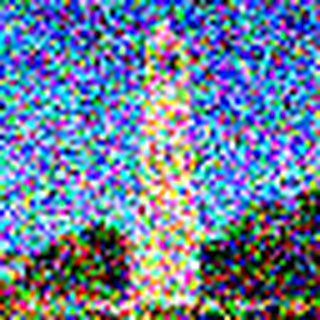
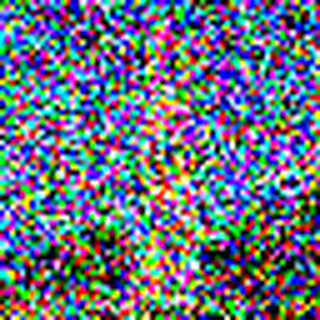
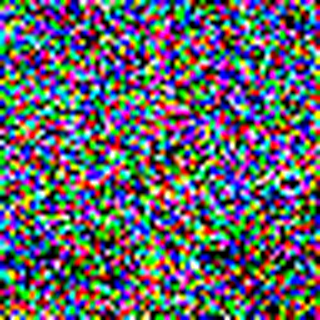
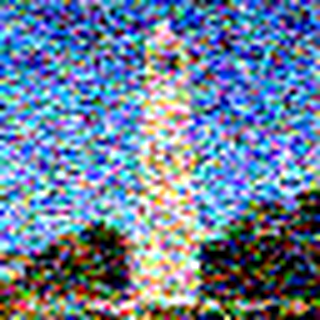
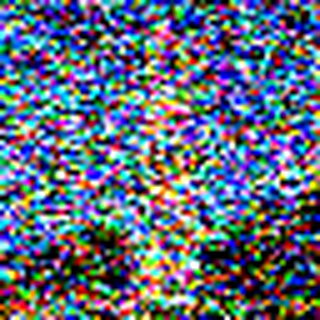
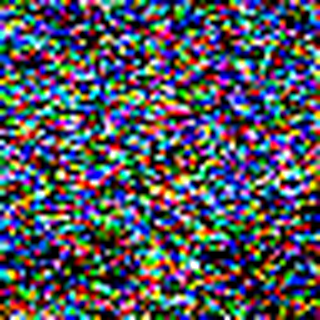
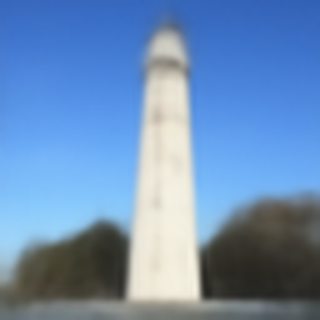
Part 1.1 Implementing the Forward Process
We are adding noise to an image given a value t ranging from [0, 999].
t = 0t = 250t = 500t = 750
Part 1.2 Classical Denoising
We do a simple Gaussian blur filtering to try to remove the noise.
t = 250t = 500t = 750
t = 250t = 500t = 750
Part 1.3 One-Step Denoising
We use a pretrained UNet to do a one step denoise.
Given noisy image (from part 1.2):
1. Using the UNet, denoise the image by estimating the noise.
2. Estimate the noise in the new noisy image, by passing it through stage_1.unet.
3. Remove the noise from the noisy image to obtain an estimate of the original image.
4. Visualize the original image, the noisy image, and the estimate of the original image.
Original
t = 250t = 500t = 750
t = 250t = 500t = 750
Part 1.4 Iterative Denoising
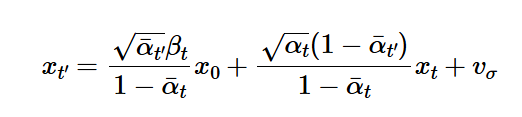
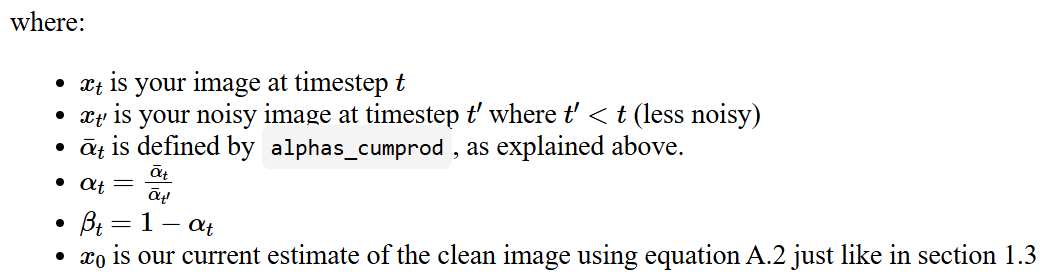
Starting from some t within [0, 999], we use the following equation to iteratively get closer to the original (clean) image.
Setting i_start = 0, we can generate random images with the prompt "a high quality photo".
12345
Part 1.6 Classifier-Free Guidance (CFG)
We compute both a conditional and an unconditional noise estimate and use the following equation
to create a new noise estimate. For the project we set gamma to be 7. We
then generated 5 more images with this new function. Note that the new images are
a lot better than the ones generated in part 1.5.
equation
12345
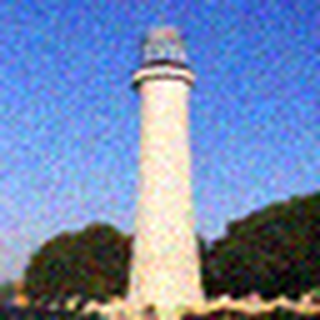
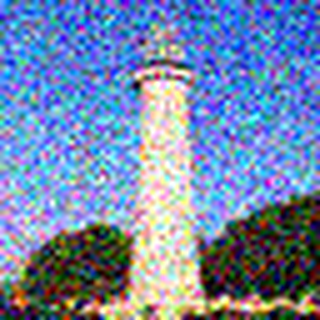
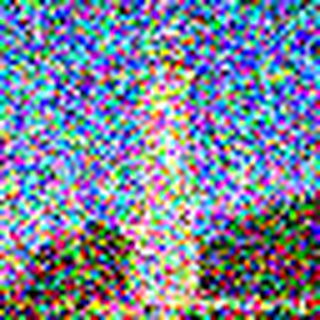
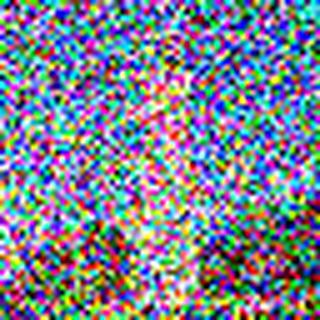
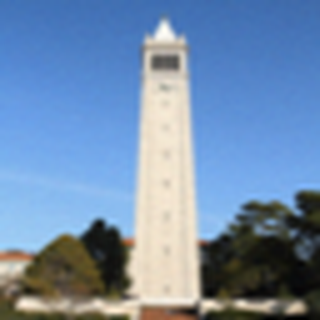
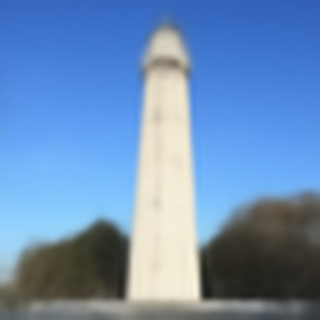
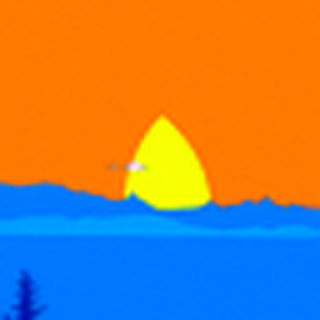
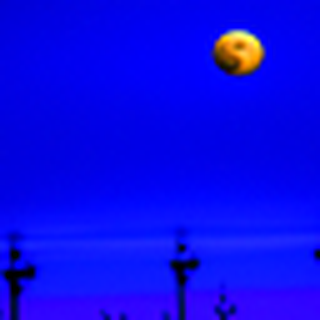
1.7 Image-to-image Translation
Using CFG from 1.6, we can now set different noise levels (t) and see
how the images gradually matching the original image closer and closer.
Note that we set t with indexes [1, 3, 5, 7, 10, 20] steps where the steps decrements
from 990 with intervals of -30 (Just like part 1.4).
1357102030
1357102030
1357102030
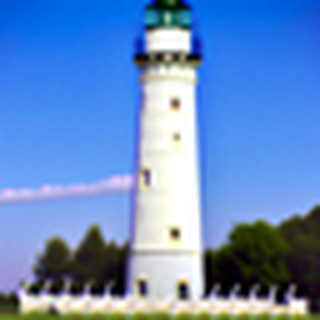
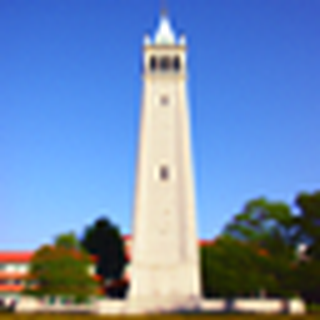
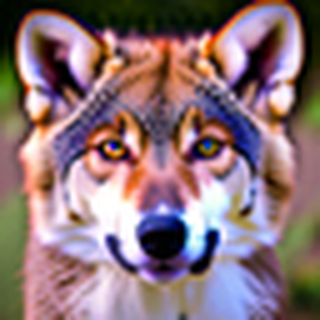
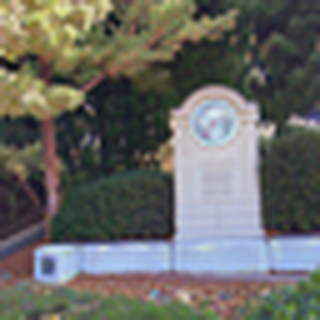
Part 1.7.1 Editing Hand-Drawn and Web Images
Using same idea from 1.7, we can now apply this to web images or hand drawn images.
13571020original
13571020original
13571020original
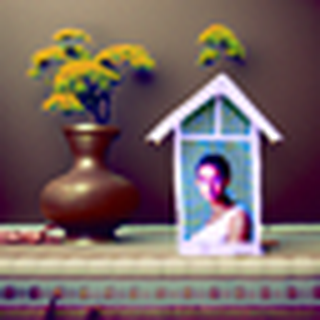
Part 1.7.2 Inpainting
We can apply mask to only generate part of our image!
originalmaskto_replace20
13571020
originalmaskto_replace20
13571020
originalmaskto_replace20
13571020
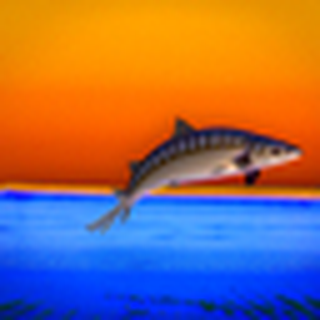
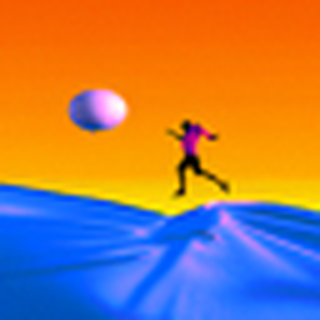
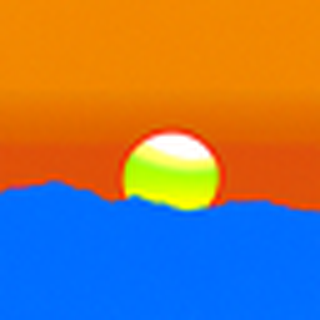
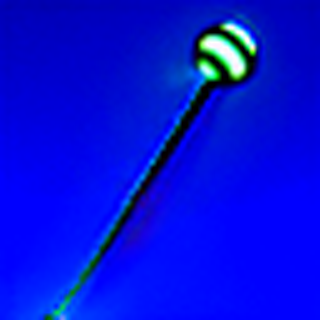
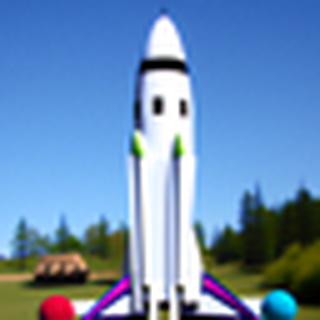
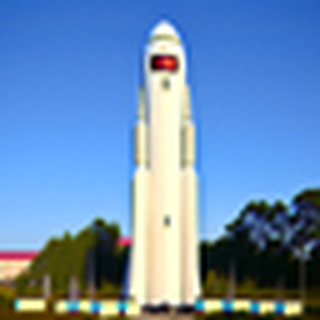
Part 1.7.3 Text-Conditional Image-to-image Translation
Instead of "a high quality photo", we would use the prompt "a rocket ship".
1357102030
1357102030
1357102030
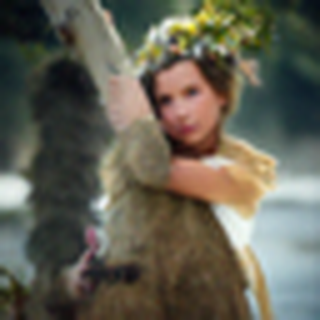
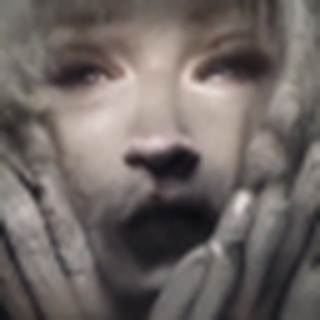
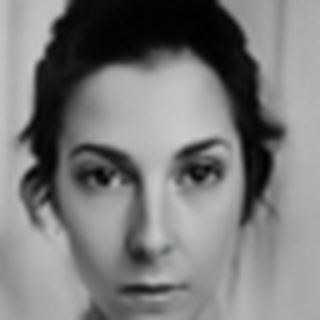
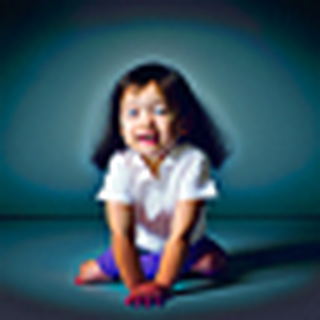
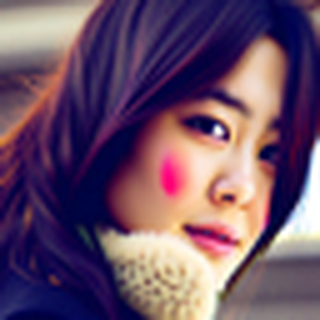
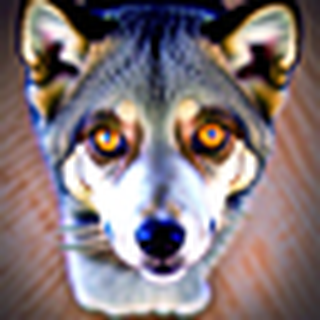
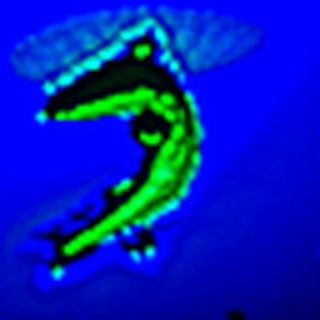
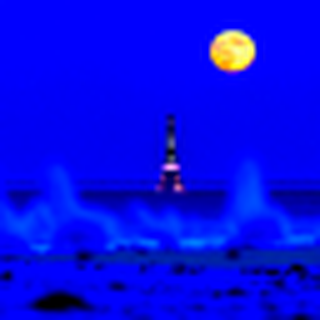
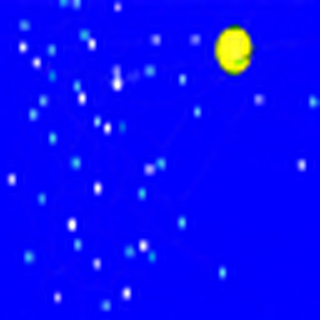
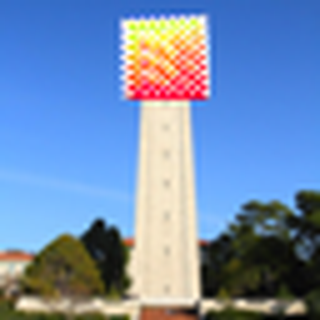
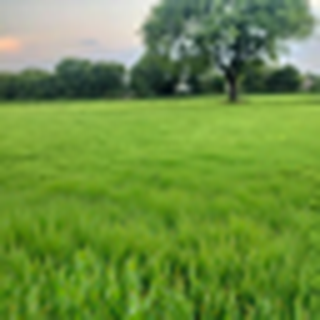
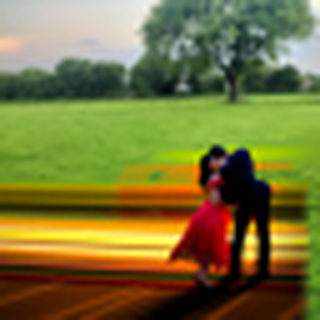
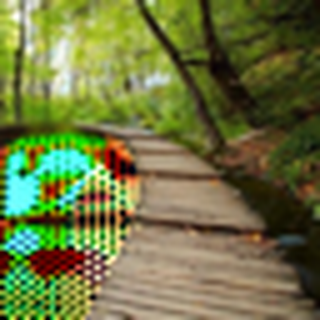
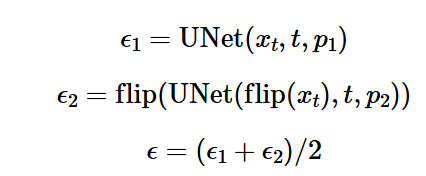
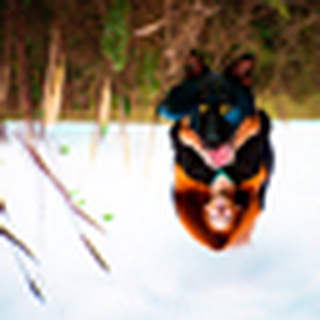
Part 1.8 Visual Anagrams
Using the following equation, we could now create an image that has two
different concepts when looked from different direction (rotated 180 degrees).
equation
an oil painting of people around a campfirean oil painting of an old mana photo of a doga photo of a man
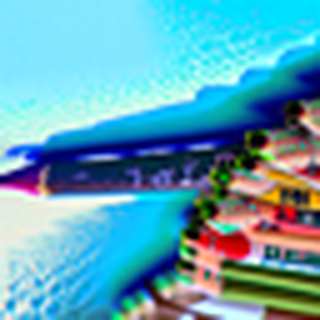
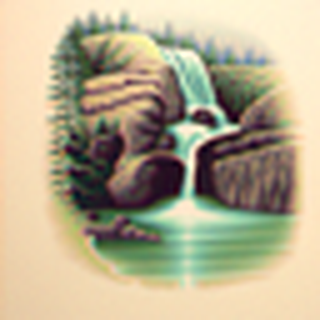
a photo of the amalfi costa pencila lithograph of a skulla lithograph of waterfalls
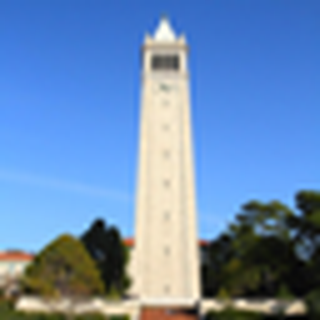
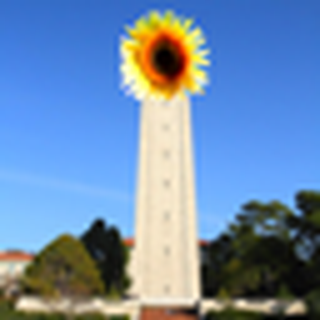
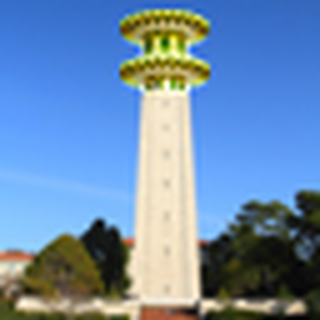
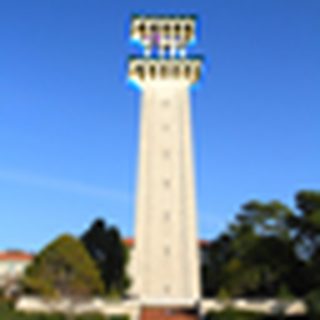
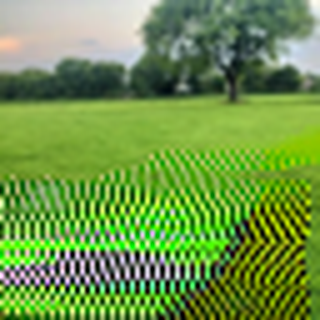
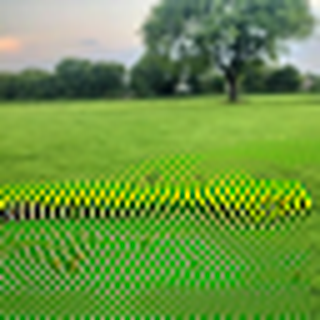
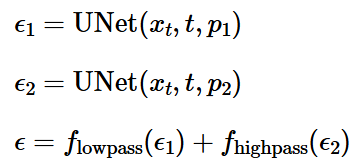
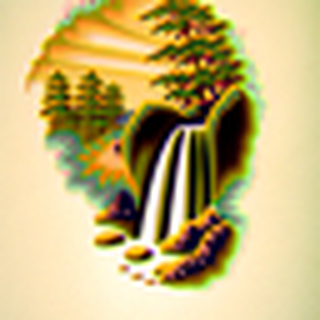
Part 1.9 Hybrid Images
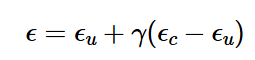
Using the following equation, we could now create a hybrid image.
equation
a lithograph of a skull, a lithograph of waterfallsa lithograph of a skull, a lithograph of waterfallsa photo of the amalfi cost, a photo of a hipster baristaa photo of the amalfi cost, a photo of a hipster barista
an oil painting of a snowy mountain village, a man wearing a hatan oil painting of a snowy mountain village, a man wearing a hata photo of a hipster barista, a man wearing a hata photo of a hipster barista, a man wearing a hat
an oil painting of a snowy mountain village, a photo of the amalfi costan oil painting of a snowy mountain village, a photo of the amalfi cost
Part B Diffusion Models from Scratch!
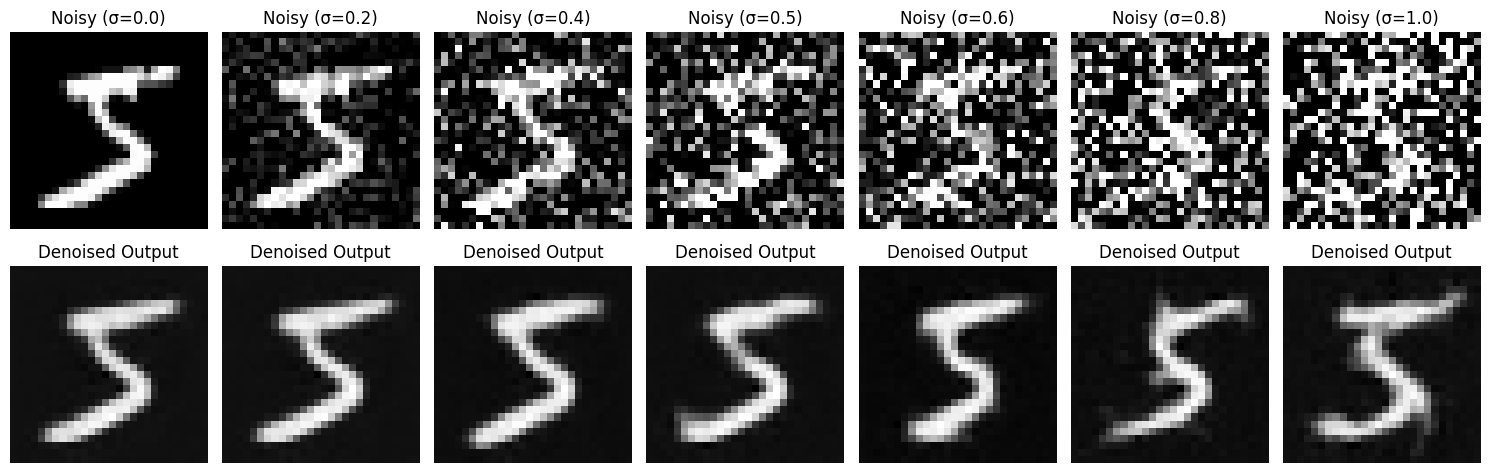
Part 1: Training a Single-Step Denoising UNet
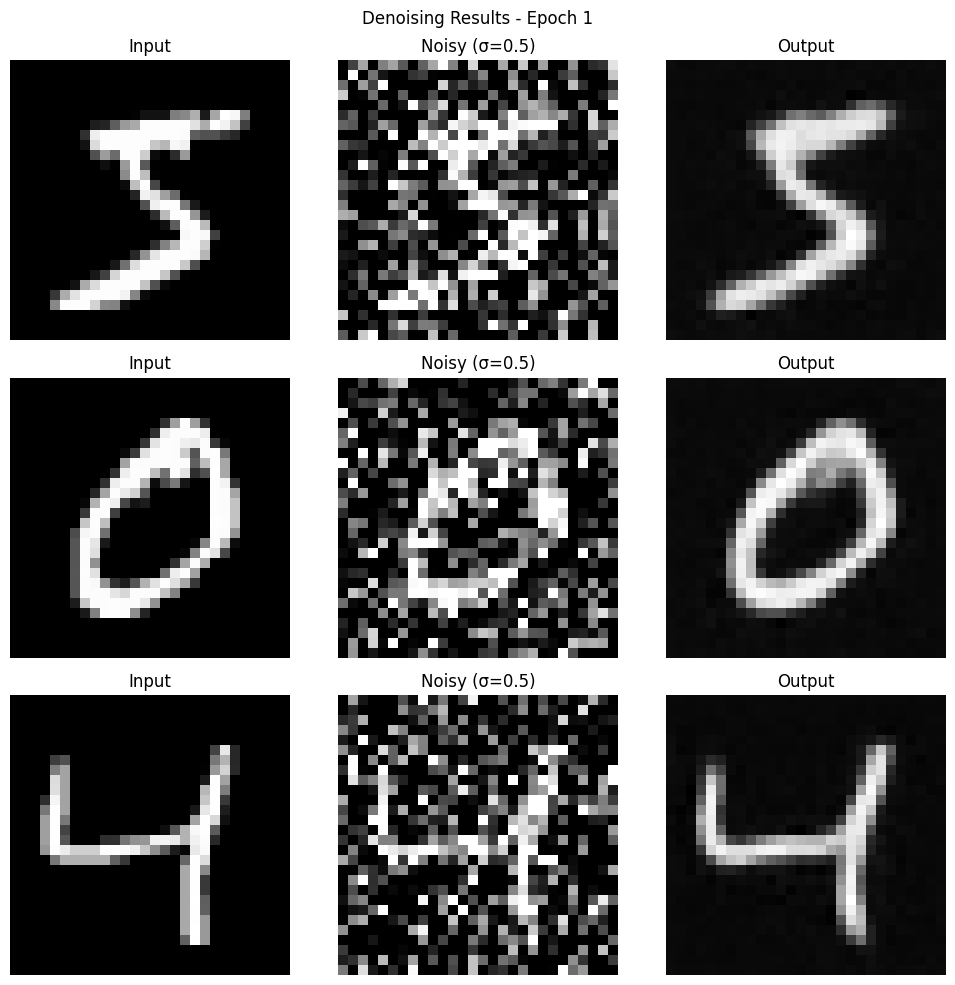
I trained a UNet accroding to the spec and got the following results.
Note that the process resembles the "1 step" denoising in project 5A.
The attached images are all corresponding figure deliverables for part 1 (Both training and sampling).
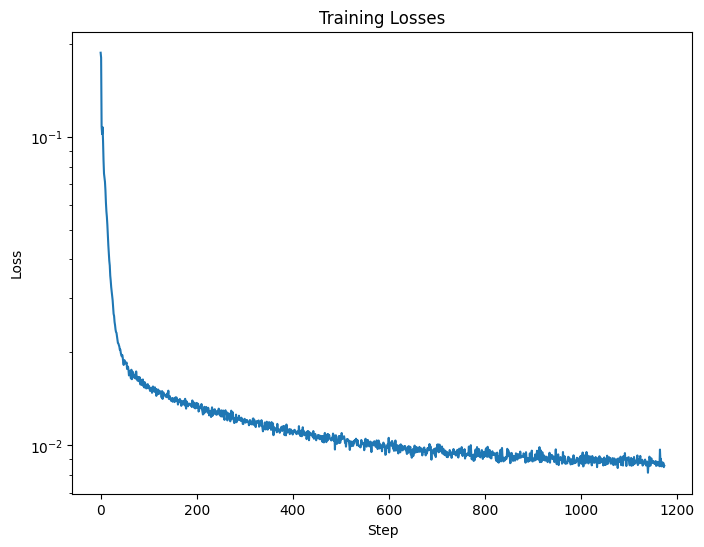
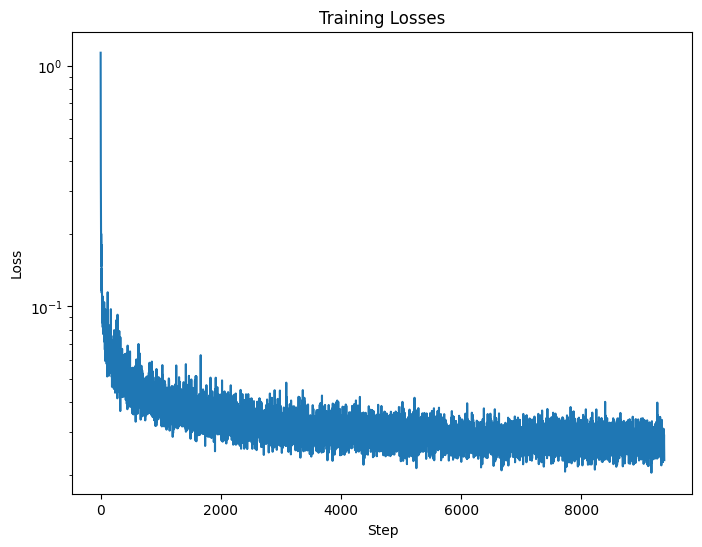
Figure 3: Varying levels of noise on MNIST digitsFigure 4: Training Loss Curve
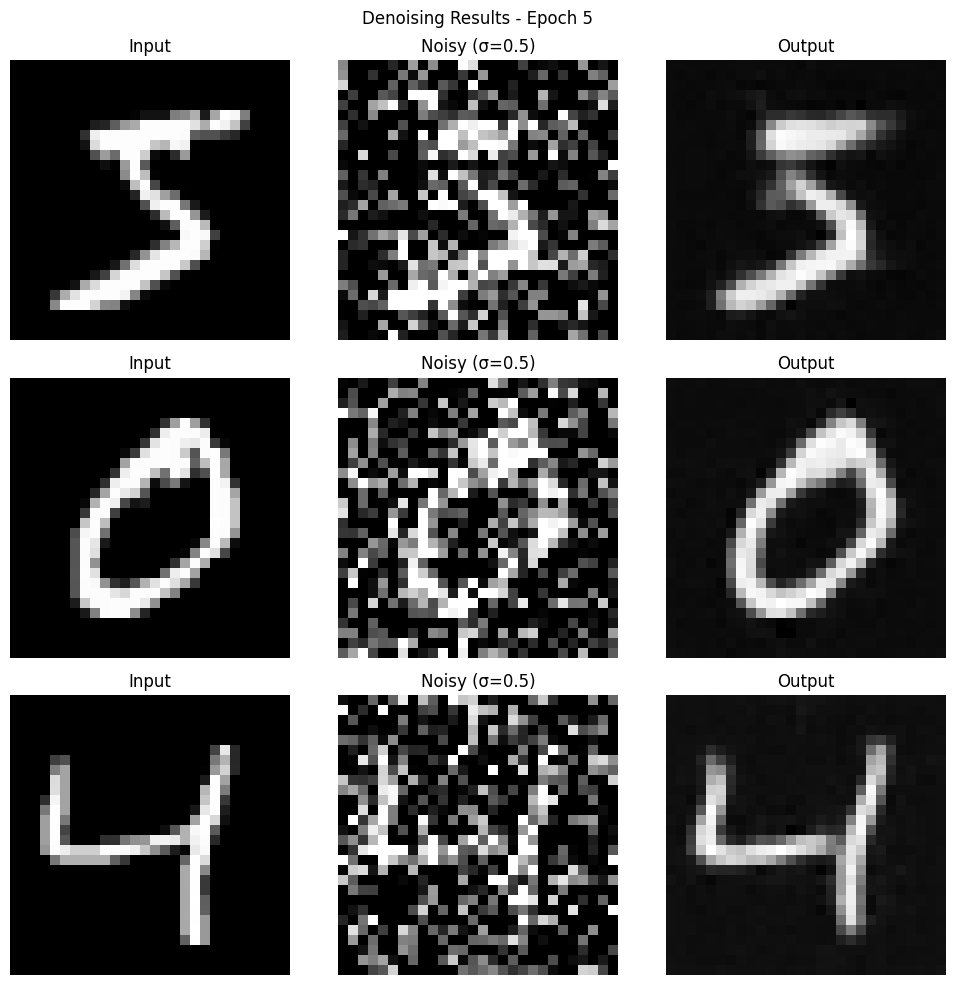
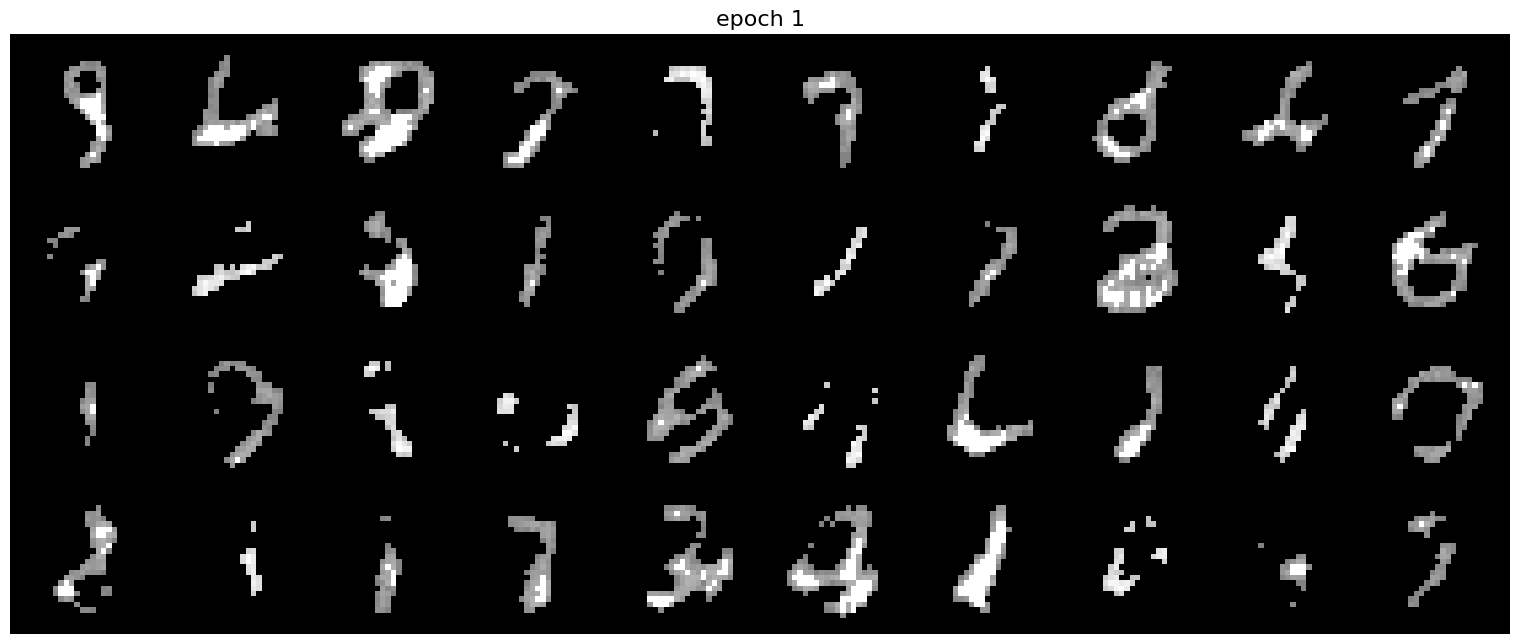
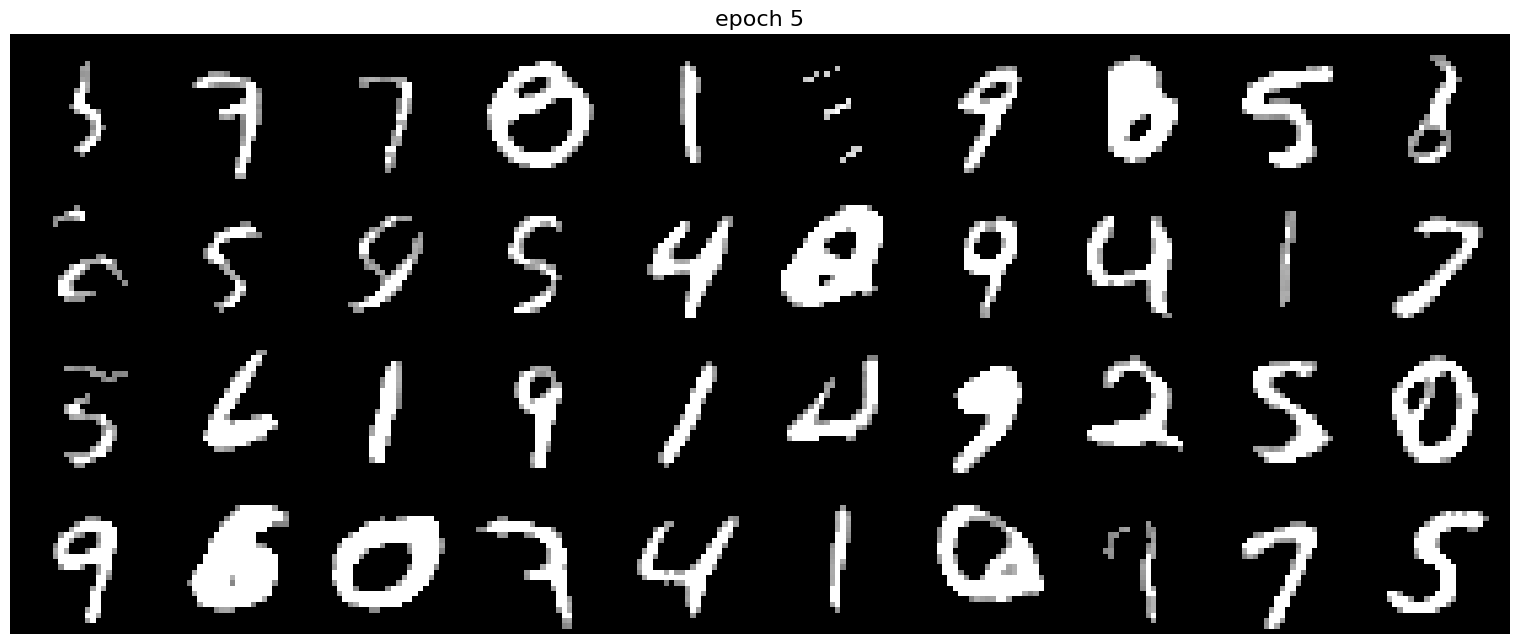
Figure 5: Results on digits from the test set after 1 epoch of trainingFigure 6: Results on digits from the test set after 5 epochs of training
Figure 7: Results on digits from the test set with varying noise levels.
Part 2: Training a Diffusion Model
Time Conditioning to UNet
I added time conditioning to the UNet. Note that this
is similar to the iterative denoising process we see in project 5A.
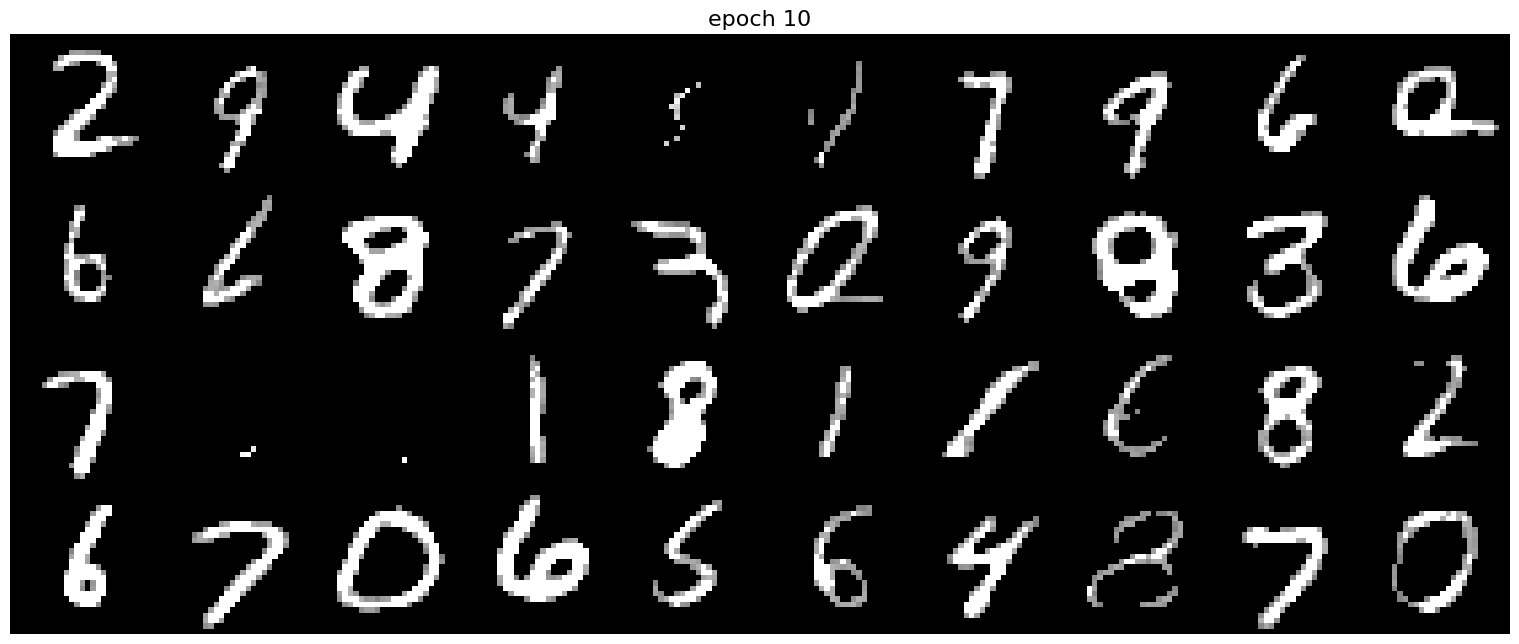
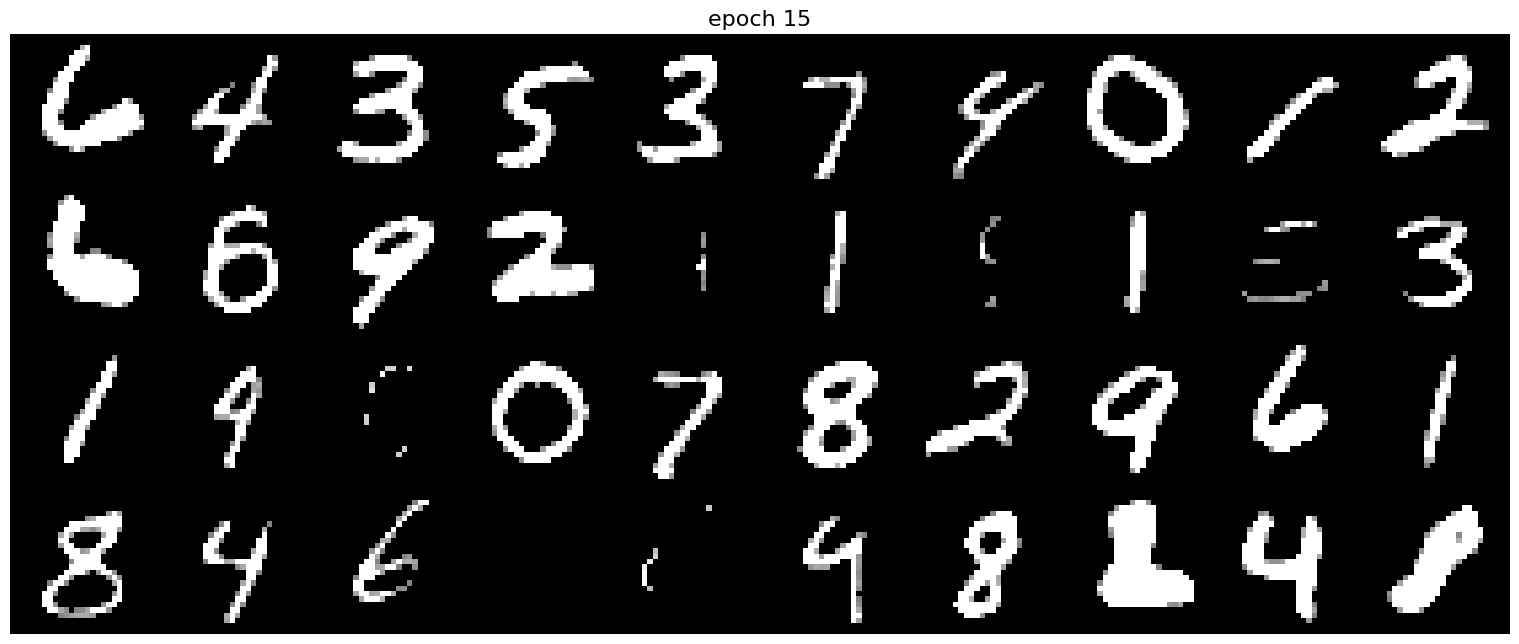
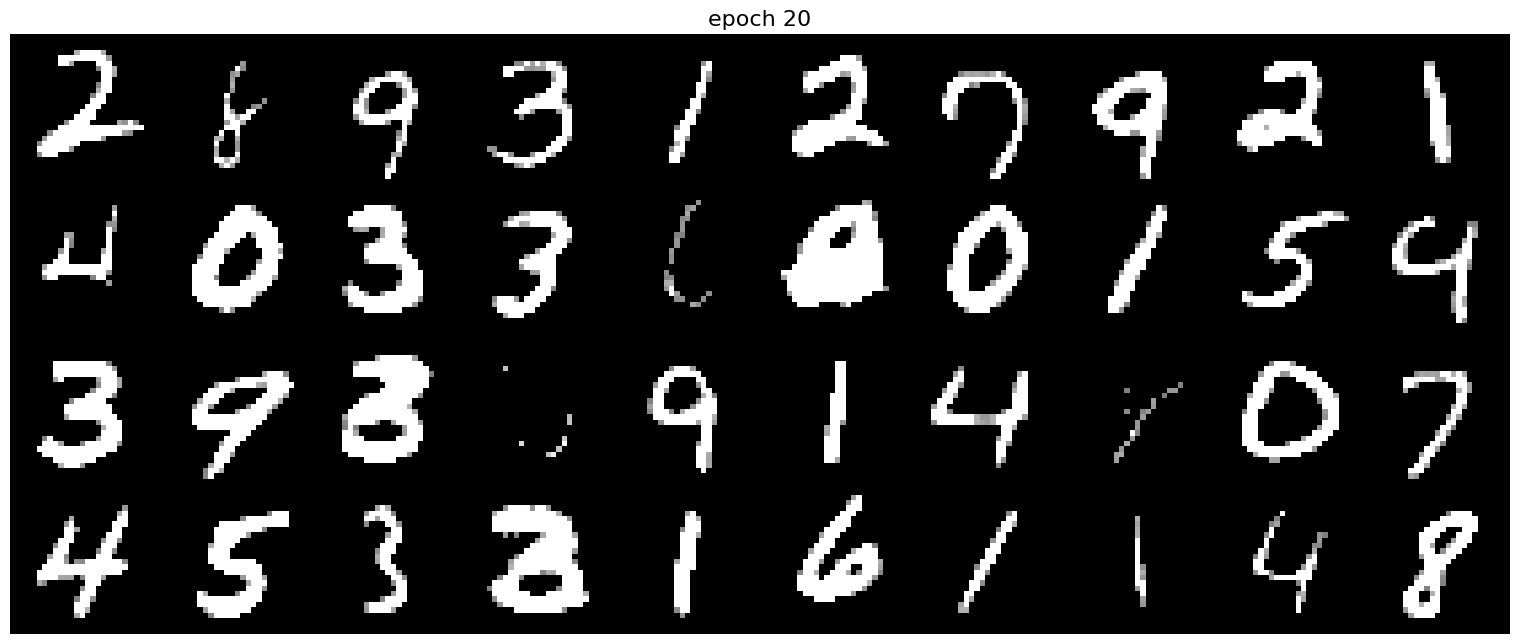
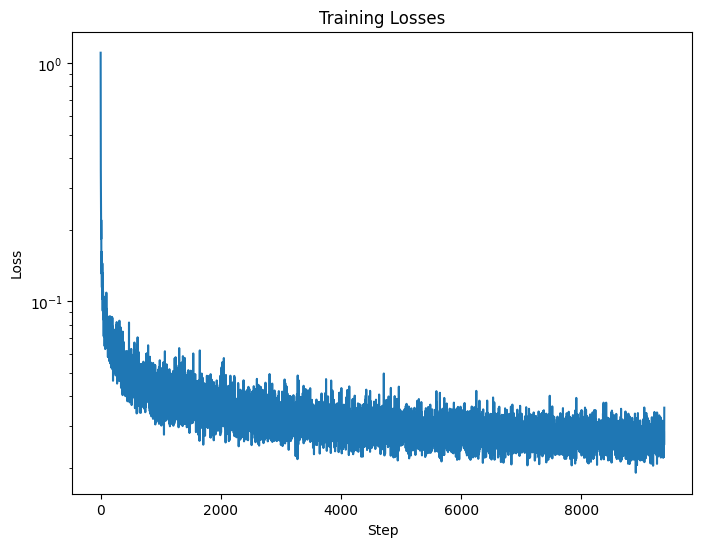
The deliverable images is as follows (Both training and sampling).
Figure 10: Time-Conditioned UNet training loss curve
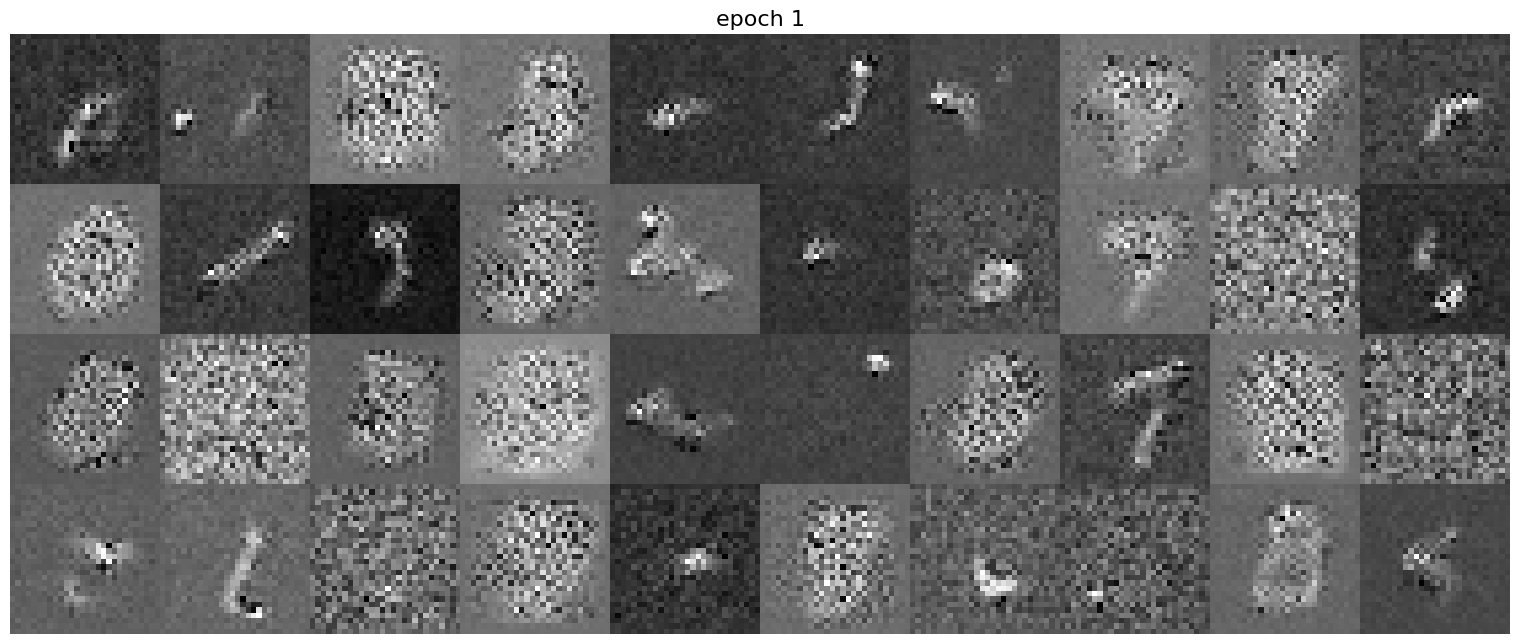
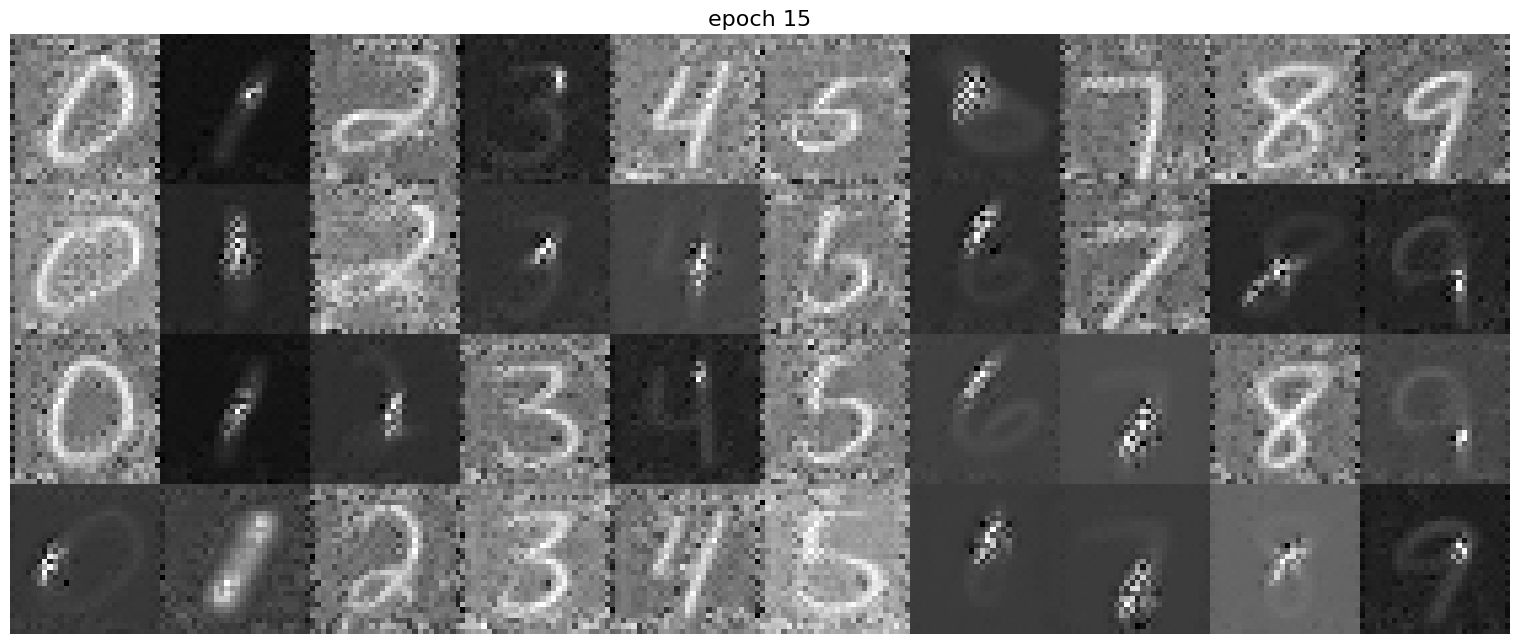
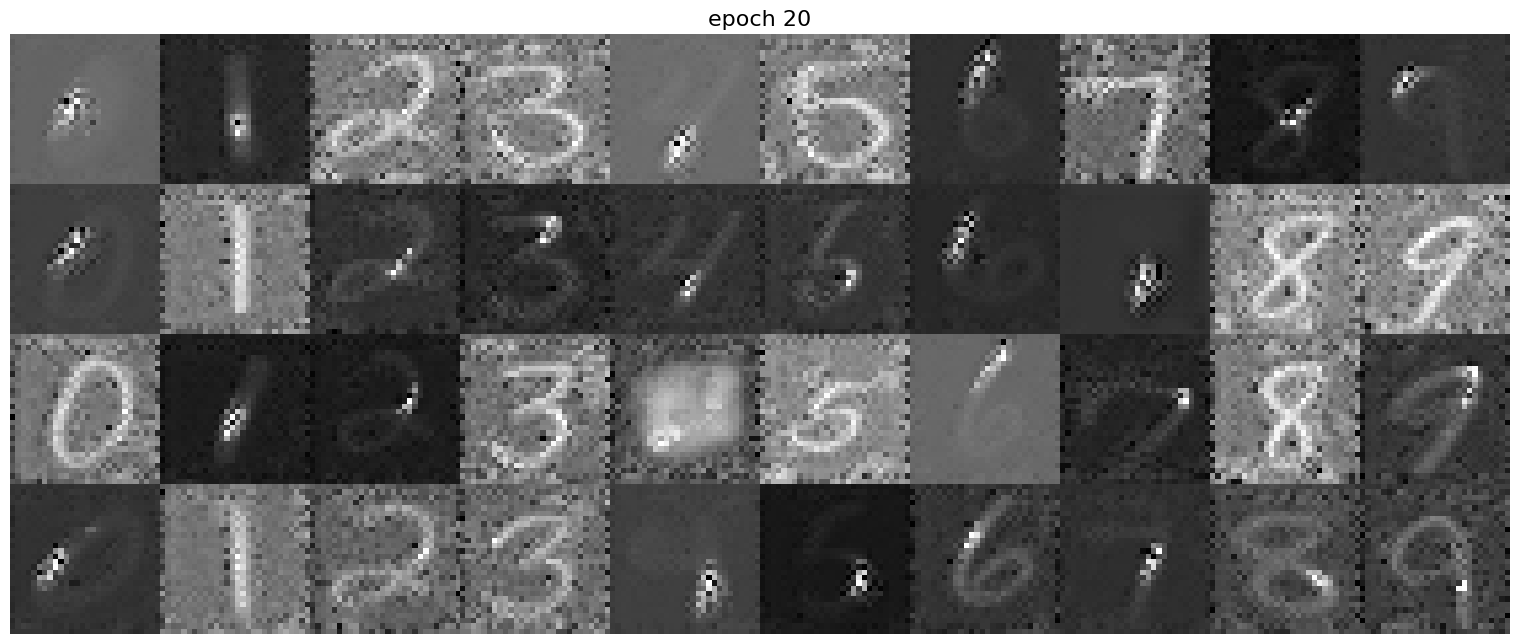
Epoch = 1Epoch = 5
Epoch = 10Epoch = 15
Epoch = 20
Adding Class-Conditioning to UNet
I added class-conditioning to the UNet. We train the UNet to target towards
specific numbers. In other words, now we are not only training the model
to recognize valid numbers, we also want them to know which number is what.
The deliverable images is as follows (Both training and sampling).
Figure 11: Class-conditioned UNet training loss curve